· By katie masters
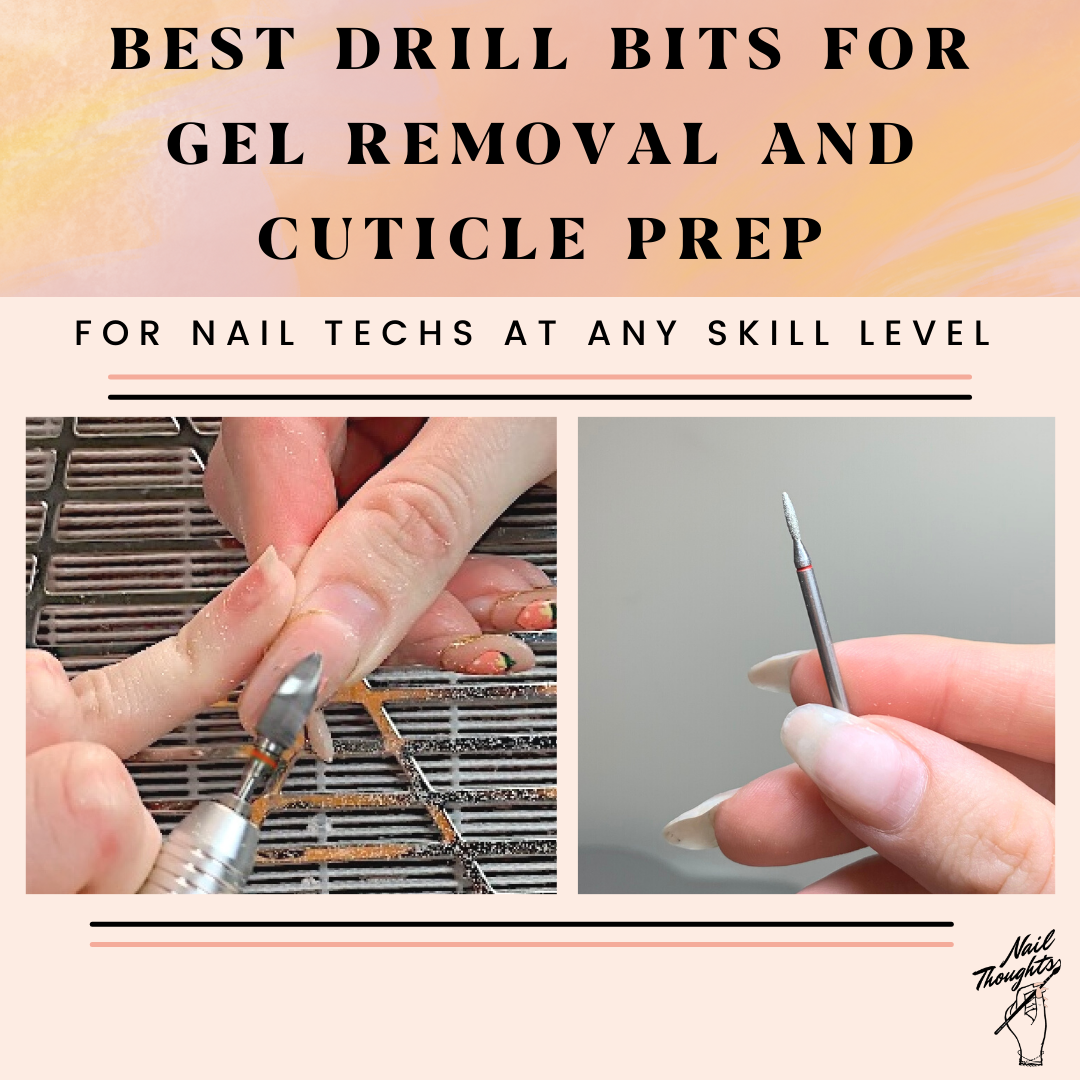
BEST NAIL DRILL BITS FOR GEL REMOVAL AND CUTICLE PREP
Please note that this article contains affiliate links I may earn a commission from. Anything you buy from this list, you can use code NT10 at checkout for a discount as well!
My name is Katie Masters. I am a nail artist with my own private salon in Santa Monica, CA. and I have been doing nails for over 6 years now!
So let’s get into it. I remember when I first started doing nails I was SO overwhelmed with all of the different types and options of drill bits. And on top of that, I always felt like it was hard to find brands to buy from!
I never knew where anyone got their e-files or bits and which ones were good or bad, so I was literally just left in the dust to just experiment and guess. Then on top of ALL of that, I had no idea that most nail drill bits were for right handed users only!!!
Can you imagine left-handed me trying to file my clients gel off for a whole almost two years with right handed gel removal bits and wondering why it was faster when everyone else did it??
So the point of me writing this article is to take you through a SUPER simple guide on the best nail drill bits and all of the ones I use in my salon for cuticle prep work and gel nail removal!
And I am also including e-file bits that have options for both left AND right handed users! You would be surprised at how many bits there are that don’t have left handed options. So fear not, you are in great hands here.
Long story short, if you already have a professional nail drill machine (also known as an electric nail file, e-file for short) or are just starting your research, you'll know that picking the right nail drill bit can be confusing. So I will hopefully be your guide for all of this kinda confusing e-file nail drill bit talk!

Before You Read On...
Before we proceed, here are some things you need to know about my gel manicure process!
First, my service list includes natural nail gel manicures with the occasional nail extension gel repair. This means that I only remove gel polish off of my clients.
I do have the occasional client come in with maybe dip powder or acrylic from elsewhere that I need to remove, but these bits I am listing do that trick for you as well!
Second, I like to keep things very simple. I use a total of two drill bits per service.
Lastly, even though I am a left-handed nail tech, I own both right and left-handed nail drill bits for when I am doing my own opposite hand.
So, if you are looking for the best nail drill bits, as well as enhancement removal and cuticle refining, you have come to the right place!
TLDR...
If you're overwhelmed already, fear not. If you've already got the basics of e-filing down, here's the ultimate list of the best nail drill bit for your needs and skill level . But if you're new to the world of e-filing, make sure to keep reading 'till the end! I'll show you the best nail drill bits for gel removal and cuticle prep, with a detailed list of their pros and cons!
- Best gel and acrylic removal bit for more advanced techs that build base coat up.
- Best gel color removal bit for intermediate-advanced nail techs.
- Best gel color removal bit for beginners, DIYers, and any other level.
- Best cuticle removal bit for precise and clean cuticles.
- Best cuticle removal bit for quicker service clean cuticles.
And heads up! If you want to get even more in depth and knowledgeable on why your gel manicures are lifting, chipping, etc. here is a great online class dedicated to you!

What Is E-Filing?
Electric filing, also known as e-filing, is in my professional opinion, an essential skill for nail technicians to learn and let me tell you why.
An electric nail file is a tool specifically designed to file nails, shape nails, remove acrylic nails, gel polish, and refine and remove cuticles. I am so grateful that I took the time at the very beginning of my career to learn about e-filing nails because I know it has saved me so much physical body pain.
Think about how your wrists and fingers would feel after years of salon work if you are constantly hand filing product to remove it, and hand filing to refine it, etc. Our hands are our most precious tools, we have to take care of them!
So why not take care of them by letting an electric nail file do the bulk of the work for you in half the amount of time?
The specific electric file that I used in the salon got discontinued but below is the updated version from the same company!
You can also use code NT10 for everything on this website including the e-file and bits for a 10% discount. I really recommend investing in the highest quality e-file that you can because:
- You don’t want a cheaper one that vibrates in your hand . The vibration in the e-file will actually hurt your hands and wrists in the long run as well! You need one with very high power and no vibration.
- Cheaper ones aren’t made for heavy usage and will break down on you.
- When you use a cheaper e-file that doesn’t have enough power, it will build up heat on your client’s nails due to the friction and lack of power to actually break down the nail product properly.

However, if you are a gel manicure DIYer and hobbyist and not planning to heavily use your e-file but don’t want to spend hundreds of dollars on a nicer one, here is a great alternative for your at home gel manicure kit on my amazon store!
Listen, I know the e-file thing seems so intimidating at first. But, I can promise you, investing in this skill and these nail drills are SO helpful to your body, your service times, and your patience!
Of course, once you get your e-file, you’ll start to see that there are SOOOO many different nail drill bits available. So many. From cheap to expensive, and from sharp to dull. Nail drill bits also come in assorted shapes and sizes and can be made of materials like metal, ceramic, or carbide. We won’t get into the nail drill nitty gritty for now because remember, I just want to make things simple for you.
Once you have experienced and practiced the perks of using a professional nail drill, I swear you'll never think about using a manual nail file for nails ever again!

Nail Care Tip: Gel Polish Removal
Let me talk about my gel polish removal process:
I am someone who builds up my client's nails with base gel. And by building up, I mean creating an apex to add strength and body to my client's nails. This creates a strong and thicker layer of base gel.
If you need more explanation, check out my YouTube channel to watch my whole gel manicure process on my clients!
By building with my basecoat, it gives the nail some body instead of being super flat and weak.
So if their nails are longer, they won’t break!
Then, when they come back for another manicure, I use these next nail drill bits to file off all of my client's gel polish color.
And heads up! If you want to get even more in depth and knowledgeable on why your gel manicures are lifting, chipping, etc. here is a great online class dedicated to you!

With all that being said, when I am filing off my clients' gel polish color with nail drills, I am never touching the natural nails again for the most part unless it is completely lifted!
That way when I remove gel polish, I don't have to worry about my nail drill bit touching or damaging the natural nails for the rest of the grow out.
Let's go over three different nail bits for gel polish removal, and their pros and cons!
Best Nail Drill Bits for Removing Gel Polish etc.
1. This “T-Rex” bit
I know this nail drill bit sounds and looks scary because of the name and the “teeth”.
But, I promise it's a dream!


✅ Pros:
- This nail drill bit has options for both left and right-handed users.
- Its "teeth" give it great strength and efficiency for removing gel polish (with a thicker base underneath), hard gel, gel extensions, and acrylic nails.
- Hard-wearing! The “teeth” don't wear out as fast as other carbide barrel-style nail drill bits, so you get longer use without having to replace it every two weeks. Saves you money!
- The top of this nail drill bit is rounded out, which will help prevent any cutting around the cuticles.
❌ Cons:
- This nail drill bit is not ideal for beginners because you could risk damaging the natural nails.
- If you don't build the base coat underneath with at least a semi-hard gel, you might damage the natural nails when filing the gel polish off if you are not as experienced with the nail drill.
- This is a thicker and more clunky nail drill bit, so it takes some getting used to around the cuticles since it's a little wider.
2. This “Flame” bit
Now, this is similar to the T-rex nail drill bit. But, the teeth are a little more compacted inward. This nail drill bit also has a thinner and tapered form.
I switch between the T-Rex and the Flame nail drill bits often. It really just depends on how far away from my hand is to reach for it in the salon.
However, I must say I do like this nail drill bit slightly more than the T-Rex though!

- This nail drill bit has both left and right-handed options
- Has a great tapered form for way more refined cuticle area gel polish removal. You can really evenly file the gel off around the cuticle without risking digging in by accident. One of my favorite nail drill bit shapes!
- With great strength and efficiency for removing gel polish (with thicker base underneath), hard gel, and acrylic nails because of the “teeth”
- The “teeth” don’t wear out as fast as other style carbide nail drill bits so again, longer use and saves you money on re-ordering.
- The tip of this nail drill bit is rounded to help prevent cutting the client.
❌ Cons:
- If you don't build the base coat underneath, you might risk damage to the natural nails during nail product removal.
- Has slightly smaller “teeth” so sometimes I feel like it might wear out quicker and be a little slower than the T-Rex nail drill bit when it comes to daily gel polish removal (but that honestly might just be in my head).
3. And finally, this “Violet Safety Bit”
This one I don’t use as often just because of the shape of it, but I can tell you this is the exact style of nail drill bit I used during my whole first year as a nail tech! Here is why:

✅ Pros:
- Has both left and right-handed options available.
- Amazing for beginner nail techs!!! The smooth top is so large and so protective against any cuticle cutting in case you go too far.
- Great for refining the cuticle area of gel extensions and acrylic nails after application because of the super rounded top and the way more smooth and smaller teeth. (It won't be taking chunks out of your fresh enhancements as opposed to the previous two)
- Much less damaging on the natural nail in case you don’t build the base enough or you accidentally file through.
- Great to use if you want to remove gel polish.
❌ Cons:
- These barrels tend to wear out quicker than the flame and the T-Rex for me after a few weeks in the salon (heavy-duty use), so get a couple on deck for yourself. You can usually tell when bits wear out: they start to build up heat on your clients or yourself.
- The barrel shape doesn’t have any tapering shape for when you file in the cuticle area, it does square out a little bit where the teeth end and the rounded top starts, so I find that sometimes I catch myself digging that squareness into the nail leaving an indent on the nail as opposed to the Tapered-Flame drill bit that is already adjusted for that. It all depends on what shape you are used to!
- Not good for acrylic nails removal, best if you use this to remove gel polish or just for refining since the teeth are much smaller.
Best Nail Drill Bits for Cuticle Removal
1. The “Russian Flame” bit
I use this bit on every client. I have used this cuticle bit for maybe about 3 or 4 years now. It seriously does all of the work for you and I cannot recommend it enough!

✅ Pros:
- It’s a diamond bit that is so gentle on the natural nails (means there are no teeth and it’s more of a sandpaper type of grit)
- The tapered shape fits so snugly when parallel to the surface of the nail and goes under the dead skin with close to no risk of creating any indents or rings of fire.
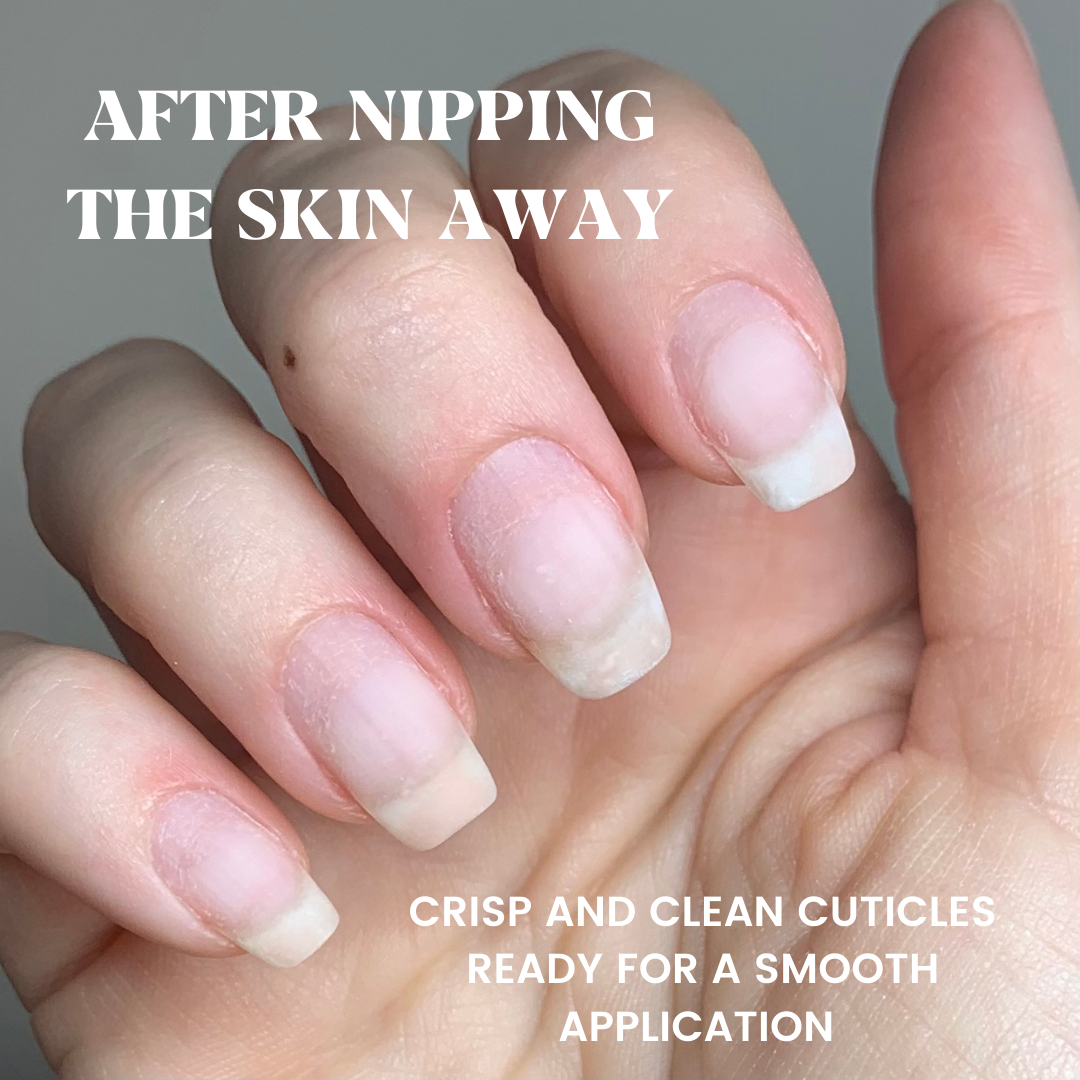
- It lifts up all of the dead skin on the cuticle so there is never any question on what you need to nip off of the skin because it does all of the work for you.
- The sharp point is so great for the most detailed cuticle work, especially in those hard-to-get corners.
- You can even use this on the skin around the nail to exfoliate dead skin without cutting or hurting your client.

❌ Cons:
- The sharper point makes you move a little slower because you are more focused on where you are placing it and making sure you’re not going to poke the client, there is no rushing this manicure.
- If you have not pushed the cuticle back properly enough you could risk hurting your client trying to force it with this bit. You have to push the skin back first!
- Be careful cleaning it...you might accidentally drop it down the sink drain :(
2. Second, the “Nib” cuticle bit.
I don’t use this bit nearly as often as the Russian Flame, but when I DO use it is usually when I am in a huge rush or my client needs to get out of there much quicker than usual.
Its stubbier and less pointy nature makes your cuticle work go WILDLY quicker than the Russian Flame.
✅ Pros:

- It’s a diamond bit which again means it’s very gentle on the natural nails
- SO great for beginners!!!
- The more rounded and nubbier tip is so much more gentle than the extreme point of the Flame bit which makes your cuticle work go SO much faster because you aren’t worried about going too far and poking your client. This bit has saved me on super busy days.
- You can use this bit on the actual skin as well to help exfoliate the dead skin with no risk of cutting your client!
❌ Cons
- The sort of bulbous and less tapered belly of the bit can dig a little bit more into the nail while you are busy focusing on the cuticles. Takes a little bit more spatial awareness on the way you are angling the bit because if you let it dig, it’ll indent the nail.
- I tend to find that it’s much harder to really get up in there especially in the hard corners of the cuticle because of the more bulbous belly of the bit holding it back. Take my word with a grain of salt though, I am a really intense perfectionist that definitely needs to chill out most of the time.
- Sometimes if you aren’t able to get into the trickier areas of the cuticles and sidewalls with a thicker bit, your gel application will tell on you and not be as smooth as you want.
Wrapping It Up
Using nail drills should not be a scary experience for you or your client. They are here to help you easily clean and prep your client's nails! Practice makes perfect, I promise! Remember, we all started somewhere.
If you are a DIYer looking for what you might need for your kit, search no more! Click here for my easy blog post on all of the gel nail polish supplies you need for your at-home gel kit!
And heads up! If you want to get even more in depth and knowledgeable on why your gel manicures are lifting, chipping, etc. here is a great online class dedicated to you!
5 comments
-
Thanks for the help Katie! You are amazing!!
Kaela on
-
This is so helpful, thank you!!
LS on
-
Thank you! Super helpful!
Jay on
-
I absolutely needed this I can’t thank you enough . Drill bit information is so hard to find and many times so vague, this has helped tremendously.
Lacinda Sloan on
-
You are my savoir Katie. As a leftie that has been professionally doing nails for years I just started hearing about leftie bits earlier this year. It’s never been so obvious to me that I live in the Midwest
Caitlin on